For many, photography is an integral part of traveling. We take pictures to remember our experiences and share them with others. And while smartphones have certainly made the process of capturing memories easier, it’s still important to keep a few things in mind as you go. To make sure your travel photos look their best, there are certain techniques you should use when taking them. Let’s dive into how to take amazing travel photos so that you can look back at your memories with pride.
Contents
Let There Be Light
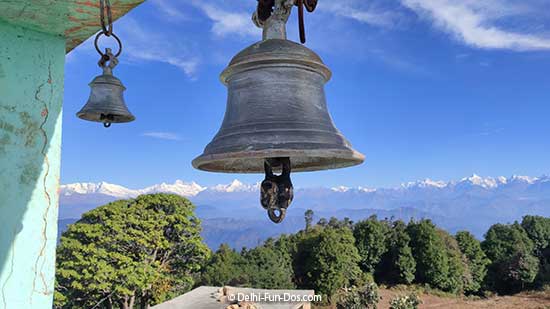
The time of day plays a major role when it comes to taking travel photos. The light at sunrise and sunset is usually much softer than during the midday sun, making it ideal for capturing beautiful landscapes or portraits. Nighttime also offers unique opportunities for photographing cityscapes or starry skies. Make sure you know exactly when sunrise and sunset are for each location you plan on visiting so that you don’t miss out on any great photo-taking opportunities.
Learn Better Before Pressing the Shutter
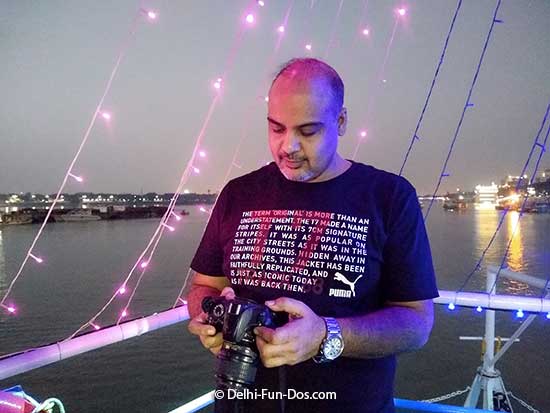
Taking amazing travel photos doesn’t require an expensive camera; all that matters is that you know how to use the features available to get the most out of what you have. Please spend some time researching your camera model and familiarize yourself with its settings and modes to know exactly which ones will help create the effect or image you’re looking for while shooting on location. This will come in handy when you’re on the go and don’t have time to sit down and troubleshoot an issue.
Find New Angles by Moving Around
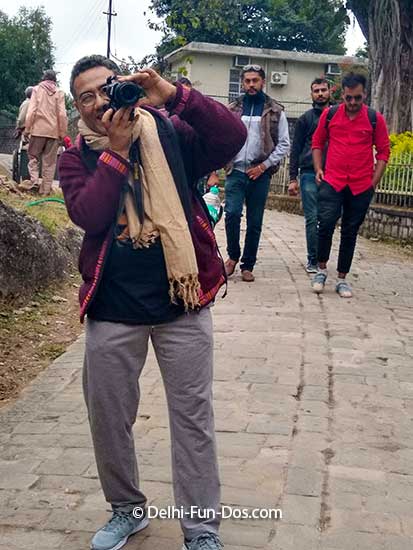
If possible, move around the scene while taking pictures to find new angles or perspectives that will help capture the true essence of a place or person. Don’t just take one shot from the same spot – instead, explore different vantage points by changing positions or zooming in/out with your lens to see if anything interesting pops up. This type of exploration can lead to some unexpected discoveries!
Consent. Consent. Consent.
When taking photos of strangers (or pets) always make sure to ask permission first before snapping away. Not only is this respectful, but it also allows you to chat with locals and learn more about their culture/lifestyle, which might end up inspiring future shots. Additionally, it can be helpful (and sometimes required) to provide people with a copy of your work after taking their picture; just remember not to share any images online without their express permission first.
PIN IT FOR LATER READ
Shoot The Unexpected
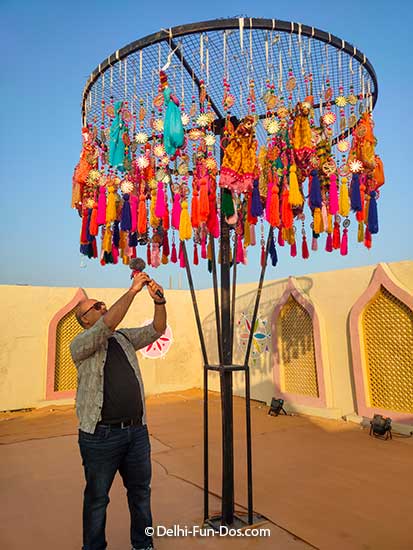
Don’t forget that not everything worth photographing has been featured on Instagram yet. Keep an eye out for hidden gems while exploring new locales during travels — like locally owned businesses tucked away side streets, vibrant street art tucked into alleyways, or charming outdoor markets filled with vendors selling homemade wares. These unexpected finds could be what truly captures a place’s spirit rather than typical tourist attractions that are already heavily covered on social media platforms.
Boost Your Final Images
You can use several mobile and/or desktop apps to enhance images. More often than not, we run our images through these apps to enhance the quality, remove unwanted objects, sharpen the focussed part, and create an overall brighter and more vibrant output. Some of these tools are paid and many are free.
Adobe Express is a free option (*with premium features that can be purchased) that provides powerful tools for enhancing your final images before sharing them online or printing them out for framing. Its basic editing features allow users to crop or adjust colors/saturations/sharpenings to perfect each photo. It can be used as a complementary tool after shooting on location too, helping photographers add an extra layer of polish to their work before showing it off everywhere. You can also create different projects. Here are just a few things you can do with Adobe Express:
- Create a stunning blog post that shows your followers all the best parts of your adventure! Just upload your photos and add the text you want. You can have a beautiful post finished in minutes.
- Make a fun photo collage using your favorite photographs. Adobe offers a wide range of fonts, stickers, and other icons that you can use to create an eye-catching project. This is perfect for beginners.
- You don’t need design skills to create a gorgeous desktop wallpaper. Adobe makes it super easy, and you can have a beautiful reminder of your trip completed in minutes. Choose your colors and customize the wallpaper with different fonts or icons.
- Create a slideshow to share with friends and family, or just to view yourself on your computer. You can even add fun music! Use text to customize your slideshow even more.
Taking amazing travel photos doesn’t have to be complicated; all it requires is planning and knowing how best to utilize your camera equipment. Once you’ve got the hang of your gear, you can focus on your creativity and making meaningful images. And of course, you can use many free tools to make the most of every photo.

Wow, your post really hit home for me. It’s like you know the struggles we all face when trying to capture the essence of our travels. I love the reminder to seek out those hidden gems, the places not flooded with Insta-fame. It’s nice to know that taking awesome travel photos doesn’t have to be a head-scratcher. Can’t wait to give these tips a spin on my next journey.
All the points are correct. Light is very important for the photography. I always make sure of that, also the angles, because later when u edit the pics, the one least expected angles, comes out the best.
These are very important tips that everyone needs to follow when they r taking pic, your first caption let there be light reminded me of Good Omens. But however, all these points are good another one if I may add is to be staying put or being patient while taking pics.
Amazing Tips. I personally follow all these mentioned tips to create better pictures. Thanks for sumup the details .
I really like how you have incorporated idioms and rhyming words to make the tips sound more fascinating! I am yet to try your last tip, I try to shoot my final image, and the max boost I do is to increase exposure. Somehow I am not a fan of highly edited pictures.